Tiling projects can be intimidating, especially if you have never done them. But did you know your tiling project could turn out better than expected with a little planning and preparation? In this blog post, we’ll discuss everything from the materials needed for your project to the most common mistakes made when laying tile. With these tips in mind, you’ll be ready to start what could potentially become a rewarding and cost-saving DIY tiling venture!
Understanding Your Space & Needs
When planning any tiling project, one of the most important things to consider is the space you have and what needs the tiles must meet. You must have realistic expectations regarding how much space is available and how effectively tiles can fill that space. Consideration should also be given to any specific functions the tiles will need to perform – this will help narrow down your choices of materials, patterns and installation methods.
Additionally, measuring and mapping out where the tiles will go ahead of time can make a big difference in budgeting and stay on task throughout the tiling process. It’s worth putting some extra time upfront into understanding your space and needs when planning your tiling project, as it can save a lot of headaches further down the line!
Choosing the Right Tile & Grout
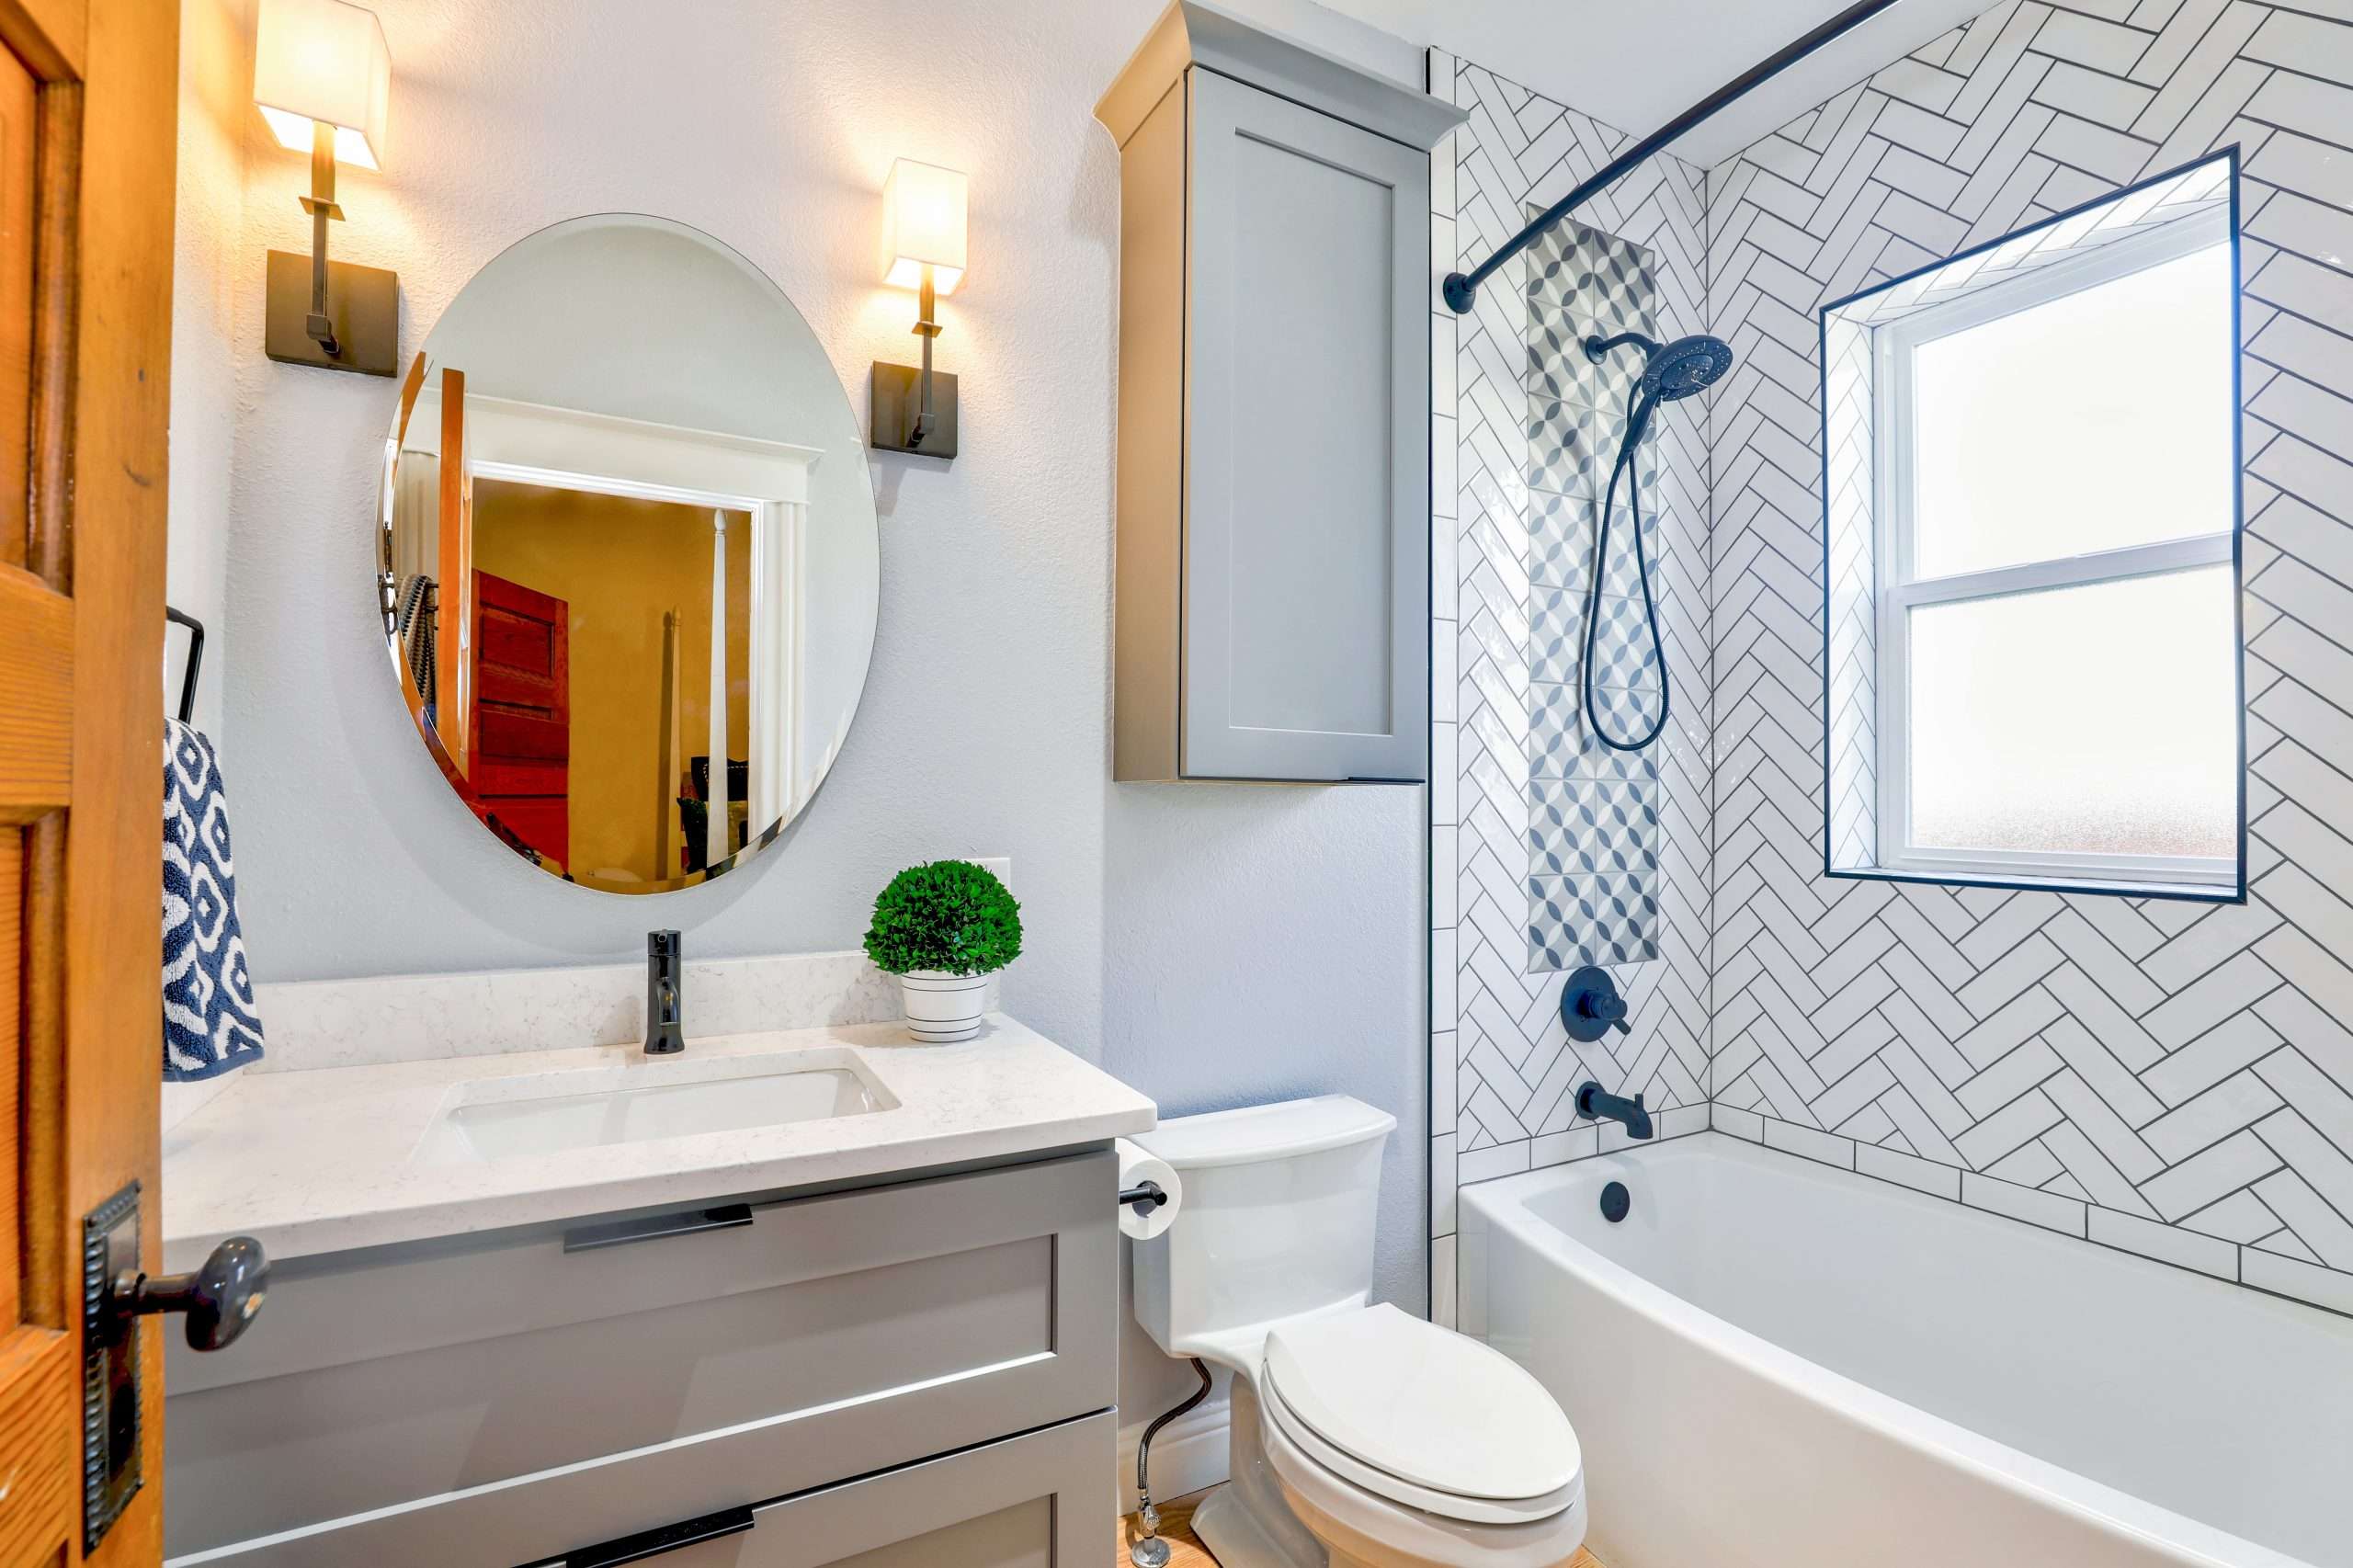
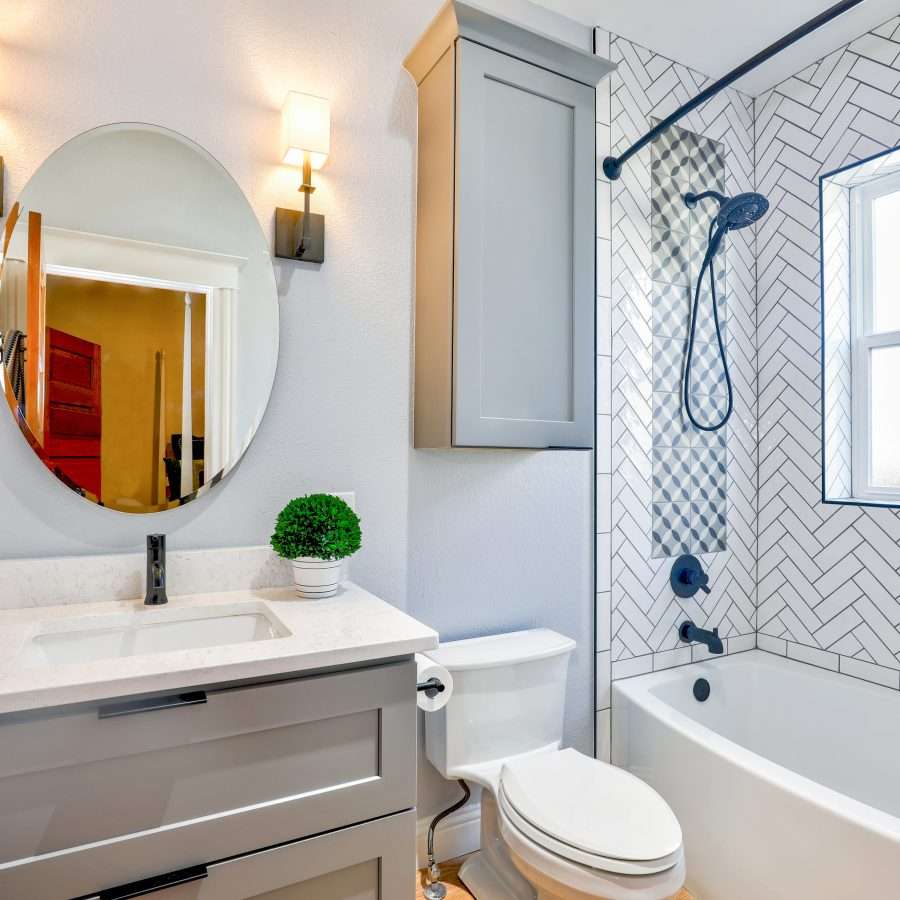
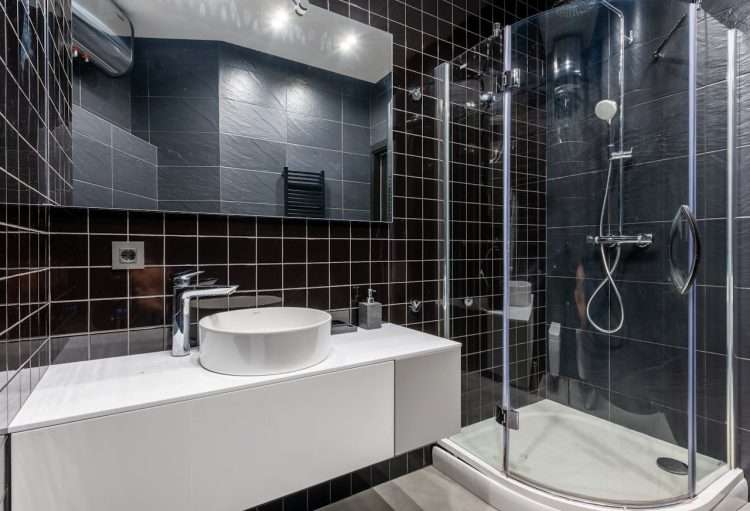
Selecting the right tile and grout is crucial when planning a tiling project. Modern metro tiles and classic square-shaped tiles can be found in various materials, such as ceramic, granite, or even glass – making choosing the perfect solution for your home or commercial space highly affordable and easy. With so many options available these days, there’s no need to compromise on style or quality when deciding which tile works best for you; metro tiles provide a contemporary edge, whereas square tiles often offer a timeless appeal.
Once you have chosen your desired option from among the many ceramic tiles available, it’s time to select around grout – white or black often works best with metro-tiled projects, and pastel shades are most suitable for classic square-shaped tiles.
Ceramic Tile vs Porcelain Tile
With so many flooring options available, deciding which one is right for you can be hard. Two common choices are ceramic tile and porcelain tile. Both have many benefits, and it is important to understand the difference between them before making your decision. Ceramic Tile is less dense than porcelain, which is usually much cheaper. It can also be easier to cut, making this an ideal choice for DIYers looking for a budget-friendly material.
Porcelain tile, on the other hand, has a denser texture making it more durable and water-resistant than ceramic tile. These qualities make porcelain tile ideal for use in areas with higher traffic or frequent exposure to moisture, such as showers, kitchen floors, and outdoor patios. For those with unique needs and requirements, understanding the differentiating factors between ceramic and porcelain tiles enables you to select the best option for your project.
Planning the Layout and Design
Attention to detail is a key element when planning out an area’s layout and design. It is essential to consider many aspects, such as darker, light and colourful tiles, to achieve a suitable aesthetic that fits both functionally and aesthetically. With darker tiles, one can balance the floor space with darker details and light colours for contrast.
Coloured tiles can bring a playful vibe and add personality to the space. The idea here is to think outside of the box when creating an ideal vision while keeping functionality in mind. That way, anyone who walks into the room will be captivated by its design elements.
Measurements and Calculations
Planning and completing a tiling project properly involves more than just purchasing the tiles you like. It includes careful measurements and calculations to ensure your tiles fit and look their best. Taking accurate measurements of the area you are tiling, as well as accounting for grids and patterns, helps to ensure that your tiles not only lay properly but also don’t end up wasting materials.
Additionally, it’s important to consider the amount of tile needed before beginning a project by accurately calculating square feet or meters covered by the extent of your design. Taking the extra time for these measurements and calculations can go a long way in producing beautiful results in any tiling project.
Picking Necessary Supplies & Tools
Picking the right materials and supplies for your tiling project can save time and money. Think about what tiles you’ll use, available space, quality, cost, type of material, design, etc., so you know what to purchase. Ensure it meets your expectations – even a few pounds’ difference in the cost of tools or tiles can add up quickly.
Measure your room thoroughly to determine how much material you’ll need, then pick up those pieces before applying them. Pick quality materials when choosing grout and sealant for waterproofing or sealing to keep costs down and ensure it looks great when finished. It’s essential to do this properly if you want a quality job!
Safety Precautions & Preparation
When planning a tiling project, it is important to keep safety in mind. First, ensure that the area you are working in is well-ventilated and has plenty of room to move around safely. Additionally, wear protective clothing and eye protection to avoid any dangerous particles and slip-resistant shoes to prevent any slipping and falling. It’s also important to double-check your measurements, so you don’t order too much or too little tile. Doing a dry run before permanently adhering the tile can help ensure everything fits just right with minimal wasted material.
And finally, never underestimate the importance of having excellent quality tools – especially regarding tilework! These simple instructions help ensure your tiling project runs smoothly and safely.
Dry Laying Out the Tiles for Visualisation
Visualising a tiling project can be extremely helpful for ensuring the result is exactly what you want. Dry laying out the tiles before beginning any work is an easy and effective way of achieving this. Taking time to arrange the tiles realistically before starting will help identify potential problems and provide peace of mind that mistakes can be corrected before it’s too late.
A successful dry layout will also ensure the best use of materials, so there is no wasted tile, or worse still – insufficient tile! While this might feel like it takes more time than just getting stuck into the project straight away, it could save plenty of heartaches and extra work later on down the line.
Installing Adhesive, Spacers, and Levelers
When you’re ready to start tiling a room, it is essential to know the best methods for installing adhesives, spacers, and levellers. Adhesive can be difficult to work with due to its high viscosity, so applying it evenly and ensuring it adheres well is important to guarantee the stability and longevity of your tile job. Spacers are used between each tile when setting them in place; this helps keep each tile at an even distance from one other and creates professional-looking lines.
When checking the level of the tiles once they’re set in place, using levellers can ensure everything is as even as possible before grouting. Installing adhesive, spacers, and levellers correctly is a must-do step that shouldn’t be overlooked when embarking upon a tiling project!
Setting the Tiles Properly & Sealing Grout Lines
Installing tile can make a dramatic difference in a room, but only if done properly. It’s essential to set tiles correctly to ensure that the finished product looks beautiful and professional.
Once the tiles are in place, the grout lines must be sealed to protect them from dirt, moisture and other debris. Proper sealing requires letting the first coat dry for at least 24 hours before applying the second one. A professional job will always last longer and look better than an amateur one; by setting tiles and adequately sealing grout lines, everyone can enjoy a stunning tiled surface that is attractive and durable.
Applying Caulking and Rubber Edging
Applying caulk and rubber edging are two of the most important tasks when tiling your home. Properly sealing any tile installation helps keep water and moisture from damaging other parts of the installation, reducing the risk of costly repairs down the road. Caulking prevents tiles from cracking or shifting, while rubber edging provides a neat finish for edges with slight gaps due to uneven walls or flooring. Using caulk and rubber edging can give your home or business a professionally-finished tiled area that will last for years.
Finishing Touches: Cleaning & Polishing the Tiles
When the tiling in your home is complete, the job looks amazing – until you notice slight imperfections. With a little effort, you can easily restore that perfect finish that will have everyone admiring your beautiful handiwork.

First, sweep away any dust and debris that settled during the installation of the tiles. Once this is done, wet them off with a damp cloth before applying a mild cleaning solution and scrubbing in circles with a soft-bristled brush or cloth. Once you’ve washed off the suds, give the tiles one last polish using a clean, dry rag to bring out their natural shine. Standing back and looking at the finished product will surely make you smile!
Conclusion
Tiling a room can produce beautiful results as long as it is done correctly. Learn about the best practices for preparing a surface for tiling, laying tiles evenly with spacers and levellers, applying caulk and rubber edging, and cleaning and polishing the tiles. With patience, an eye for detail and these tips, you can create a stunning tiled area that will last for years.

Leave a Reply